Brrrrrr!!!! Is Your Insulation Sufficient?
Winters are cold in the prairies – that’s definitely not a newsflash. And on those days where your skin freezes instantly as soon as you step outside, you first wonder why the heck you live here, and then you look forward to when you’ll be able to get back to your nice warm home….unless it’s not warm. In which case, this blog post is for you.
If you think you’re among the 80% of Canadian homes that are under-insulated, performing a simple insulation inspection will help you determine your insulation needs. Having the correct amount of insulation can help you maintain a comfortable temperature throughout your home and help save money on your energy bills. Plus, it can prevent major issues like ice damming and moisture buildup.
Which R-Value is Right For Your Home?
Ensuring your insulated spaces have the correct R-Value depends on a few factors, including your province, city and zone. Different areas of your home also require different R-Values in order to make sure your floors, ceilings and walls are insulated correctly and efficiently.
This map shows thermal recommended levels of insulation for various climate zones, based on recommendations from the National Research Council of Canada (NRC). NRC produces the model building codes for Canada.

How to Select Insulation
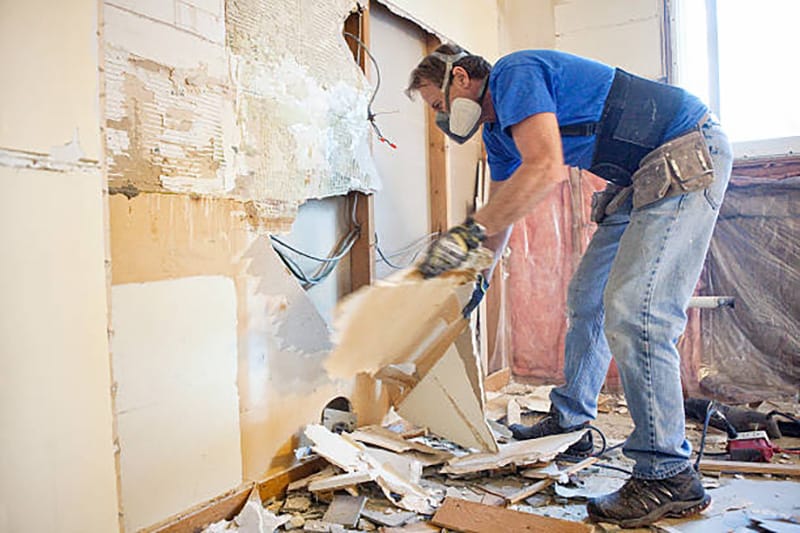
1. Figure out where you need to add insulation.
2. Determine how much additional insulation R-value you need.

-
- Turn off the power to the outlet.
- Remove the outlet cover and shine a flashlight into the crack around the outlet box. You should be able to see if there is insulation in the wall and possibly how thick it is.
- Pull out a small amount of insulation if needed to help determine the type of insulation.
- Check outlets on all floors as well as old and new parts of your house. Just because you find insulation in one wall doesn’t mean that it’s everywhere in the house.
3. Decide what type of insulation you need. (Read below!)
4. Calculate the quantity of insulation you should buy.
5. Choose whether you want to undergo a DIY insulation project or to hire a professional.
Insulation Types and Forms
The most common types of insulation are fibreglass, cellulose and foam. These types of insulation are available in a number of different forms depending on the location and R-value you intend to add.
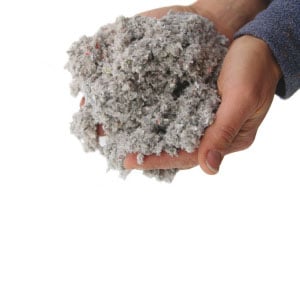 |
Blown-in or loose fill insulation is usually made of fibreglass or cellulose (recycled paper fibre). It’s blown or sprayed into place with a machine and is ideal for use in hard-to-reach areas, such as attics. It can also be used to fill wall cavities or to top up existing insulation. |
|
|
 |
Batts are pre-cut sections of fibreglass or rock wool insulation that are designed for easy handling and use between framing, such as studs and joists. They can be used in floors, walls, attics and ceilings. |
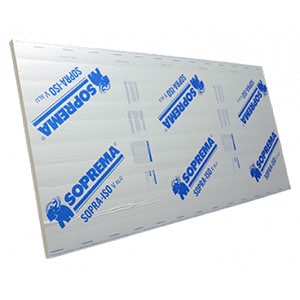 |
Foam board insulation, or rigid panels of insulation, can be used to insulate almost any part of your home, from the roof to the foundation. Polystyrene and polyurethane are the most common materials used in making foam boards. Foam board insulation sheathing reduces heat conduction through structural elements like wood and steel studs. |
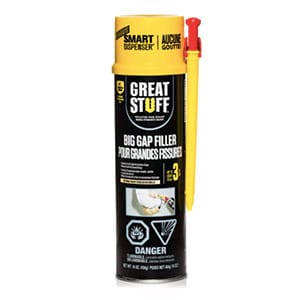 |
Latex or polyurethane spray foam insulation can be used to fill small gaps and cracks and is ideal for sealing around doors, windows and vents. It sets quickly, and can be trimmed, painted or stained. Special equipment may be needed to apply foam to larger areas. |

Vapour barriers help control the amount of moisture that passes through insulation and are commonly used when framing the exterior walls of a house. If moisture from either direction is allowed to build up within the stud or cavity walls, the heat-conducting moisture will cause the insulation to lose its R-value and allow mould and rot to set in over time.
Home Energy Retrofit Initiative
Offered through the Canadian Government, the Home Energy Retrofit Initiative is the most recent grant available and is retroactive to December 1st, 2020. It helps Canadians make where they live more energy efficient while supporting national environmental objectives.
What It Will Provide:
If there’s anything we can do to help along the way, do not hesitate to reach out via our contact form.